Chenxiao Ma | December 27, 2016
I was trying to build a compiler as a course project in a Compiler Technology course. I decided to use x86 as my destination code architecture. However there are 2 more steps to take before the x86 code can be executed. Here is a what I have tried and I hope it will help you.
The assembly code has to be "assembled" first, with a program called assembler.
The assembler will produce a program called object file. Each source assembly
file will be assembled to an object file.
All the object files are then "linked" by a program called linker.
lld might be used on macOS and mingw is used on Windows.
There are many assemblers available, including GAS, NASM and MASM.
GAS is used by GNU GCC,
NASM is cross-platform and MASM is exclusive to Windows.
I am using a Mac so I have no choice but to use NASM.
Then because of the requirements of the assignment,
I have to migrate it to Windows too.
First I will talk about how I set up NASM and got Xcode to run
and debug my assembly code.
Then I will talk about how to set up NASM on Windows
and use it to assemble x86 code to object files on Windows.
In the end I will also tell you
how to use mingw to make executable files on Windows.
First we install NASM with Homebrew
$ brew install nasm
Then go to Build Rules in the Project Settings in Xcode, click the plus button, and set the rules as below
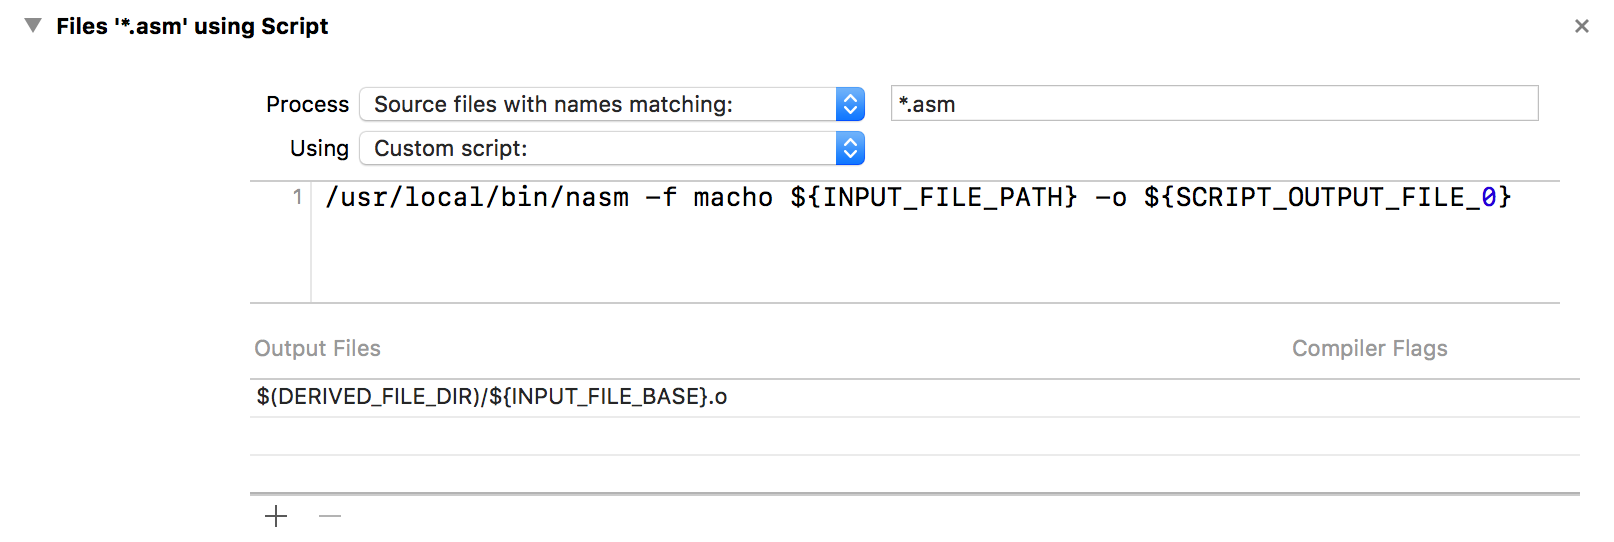
/usr/local/bin/nasm -f macho ${INPUT_FILE_PATH} -o ${SCRIPT_OUTPUT_FILE_0}
Then we write a really simple program.
In test.asm we declare an assembly function,
which simply returns an integer 2017.
In main.cpp we declare the main function, call test
and print out the return value.
; test.asm

global _test

section .text

_test:
    mov dword eax, 2017
    ret
// main.cpp

#include

extern "C" int test();

int main(int, const char**) {
    int out = test();
    std::cout << out;
    return 0;
}
Now we are all set.
If you want to run it, just hit command + R.
If you want to debug it, you can set a breakpoint
and use control + F7 to jump into the assembly function.
NASM can be downloaded from its official website.
I didn't use the installer and just used the executable in the zip file.
Move the executable to the same folder as your assembly file
and type the following command into cmd.
cd C:\\Assembly
nasm -f win32 test.asm -o test.o
g++ -c main.cpp
mingw32-g++ test.o main.o
a.exe
Now if you see 2017 printed on the command line, you have succeeded!